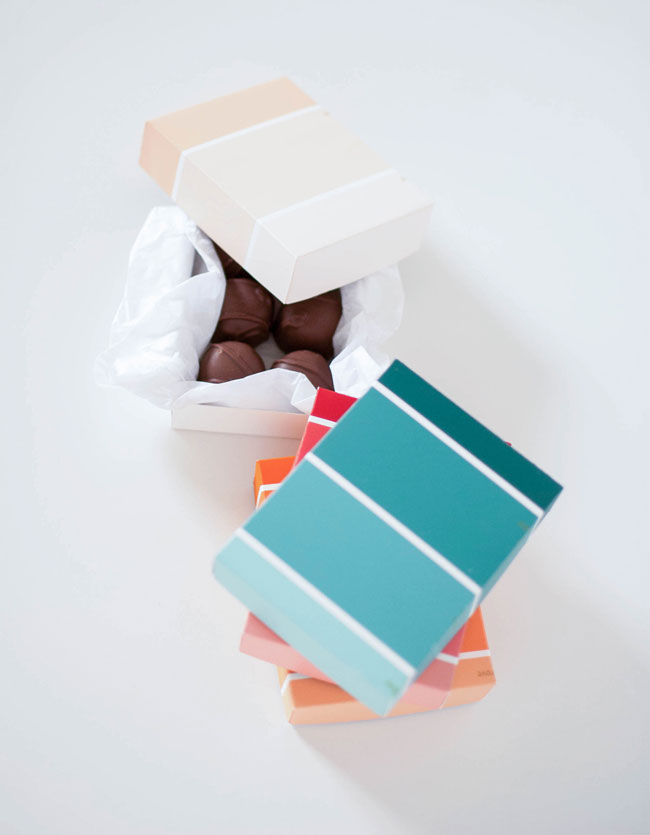
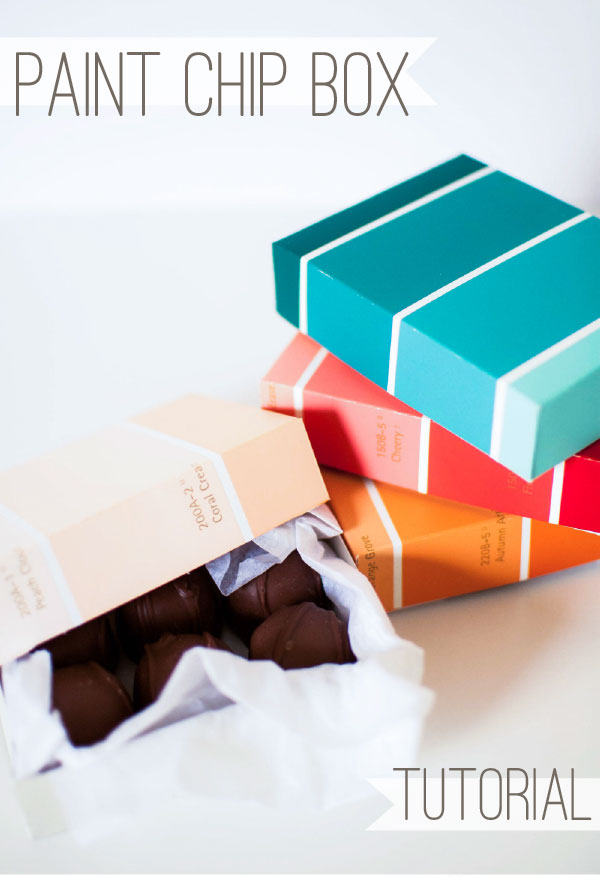
It’s easy to see why simple hardware store paint chips are a favorite among Cricut Machine crafters. They’re vibrant, come in any color you need, and incredibly versatile. Today, we’re going to show you a simple paper craft that you can make using paint chips. The samples shown are from Home Depot. The Behr paint chips are wonderful for making boxes because of they’re nice and big. Plus, they’re shaped very nicely for boxes, being a wide rectangle as opposed to some of the more narrow ones.
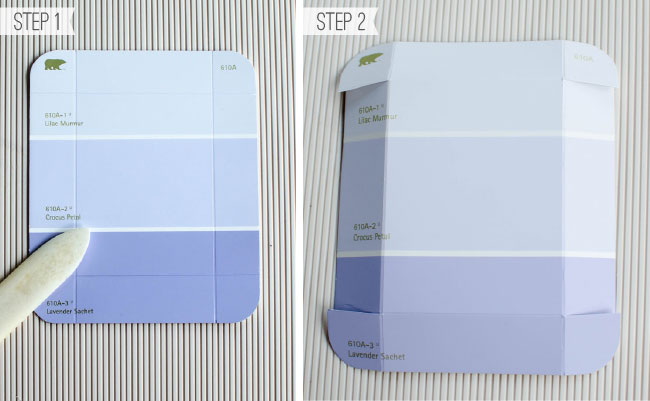
For the top of the box:
Step 1: Use your bone folder and a ruler (or scoring board) to score lines 1 inch from the sides as shown.

Step 2: Cut four slits following the lines on the sides only. Fold all of the sides inward toward the back of the paint chip.
Step 3: Fold top and bottom toward the back of the paint chip so that you have a little flap (see photo above). You will need to add glue to each of the flaps.
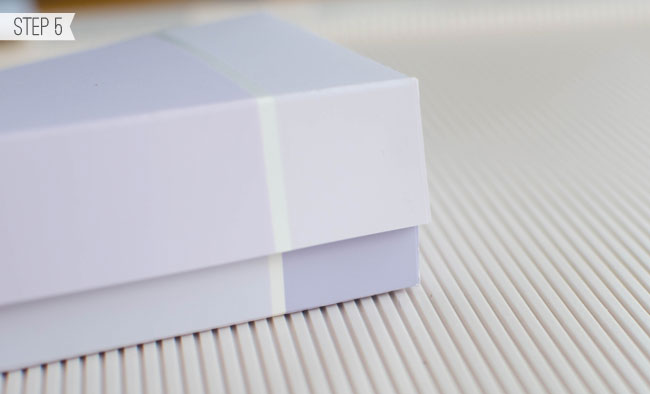
Step 4: Bring sides up to flaps and hold until the glue sets and sides are stable.
For the bottom of the box:
Step 5: Repeat the steps above with a new paint chip, but this time you need to go just slightly past the 1 inch mark when marking your lines. This will make the bottom slightly smaller than the top so that they fit together nicely.
Finishing up
Now you can add some tissue paper and some delicious candies to gift to your favorite people. These boxes make up really quickly so you’ll be able to make lots!