
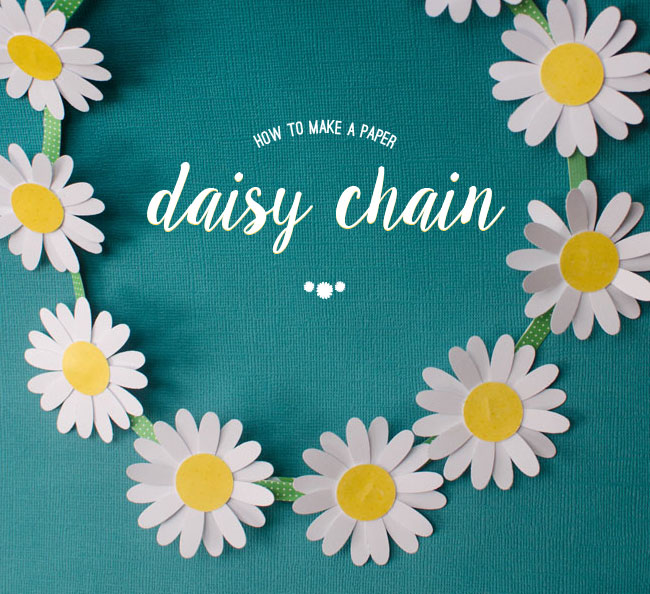
Seeing all of the flowers springing up has me dreaming of warm picnics and long, cricut paper cut out flowy daisy chains. Have you ever made a daisy chain? They are so simple and lovely that I decided I couldn’t wait for the daisies to start popping up. This simple paper craft simulates the nature craft I grew up with, but with paper (which means it will last longer and won’t wilt!).
Daisy Chain Tutorial
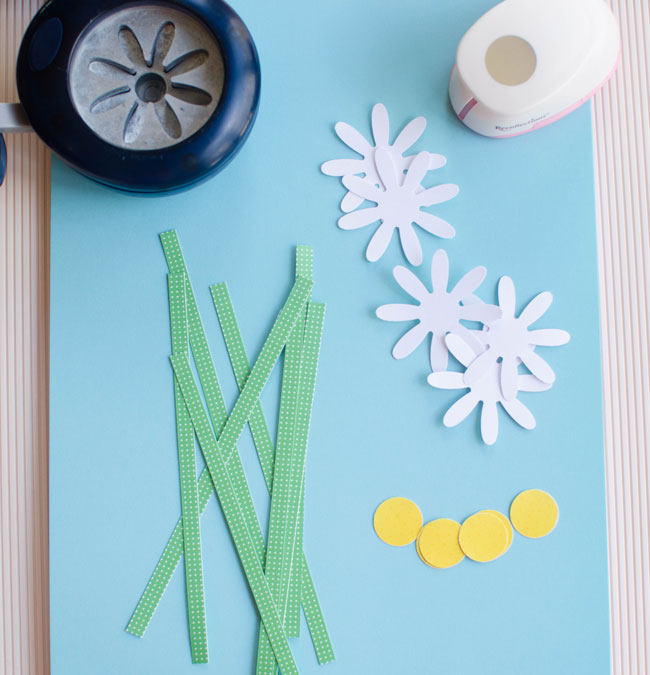
supplies for making paper daisy chainWhat you’ll need to make your paper daisy chain:
White paper daisy petals (I used this paper punch but I have some resources below if you don’t want to use a punch)
Yellow circles – I didn’t have yellow paper in the shade that I wanted so I created my own. You can use my yellow paper if you’d like. (I also used a 3/4″ circle paper punch)
Green paper cut into 6″ x 1/4″ strips
Cricut Scissors
Cricut Craft knife
Glue
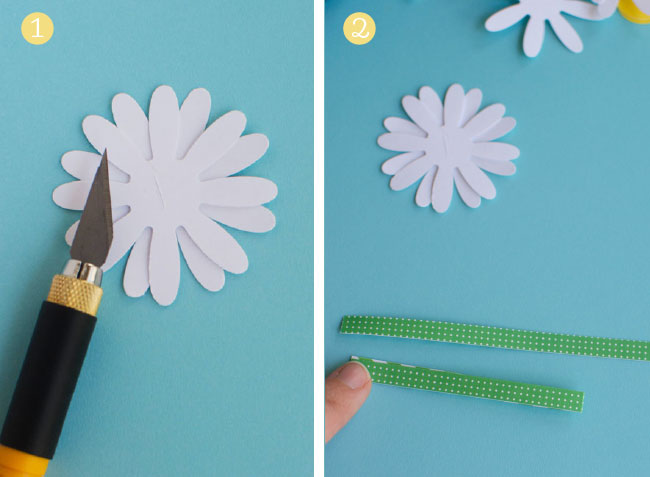
How to make your daisy chainStep 1: Stack two daisy petal cutouts and rotate them so that they are not stacked directly on top of one another. Then use your craft knife to cut a slit in the center of the petal, being sure to cut through both layers at the same time.
Step 2: Fold your green paper strip in half.
how to make your daisy chainStep 3: Carefully insert the cut edge of the green strip through the slit that you made. You should have about 1/4″ of the green paper coming through the top of the flower.
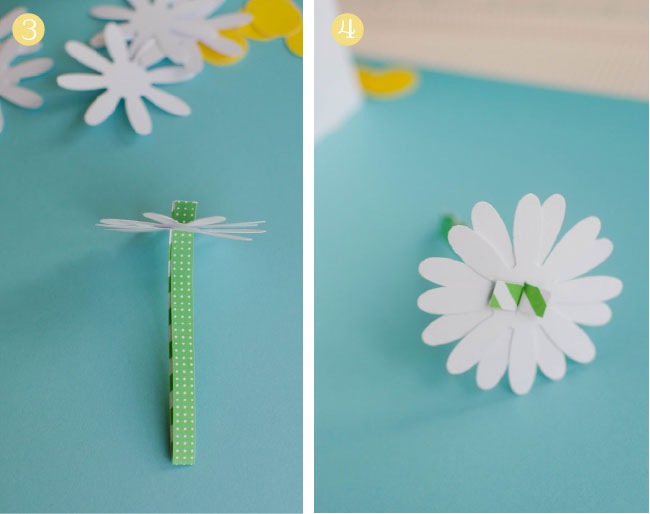
Step 4: Fold the green paper back onto the petals as shown in the image above, and glue into place.
How to make your daisy chainStep 5: Glue yellow dot on top of the flower petals so that they completely cover the green paper, and pull some of the petals forward so that the flower isn’t quite so flat anymore.

Step 6: Using your craft knife, carefully cut two slits towards the bottom of the “stem” so that they form an X (on subsequent stems you will want to hold off on this step until you are ready to push the next flower through). Be very careful not to get too close to the edges of the paper, but you need the slits to be long enough to accommodate the 1/4″ stems.

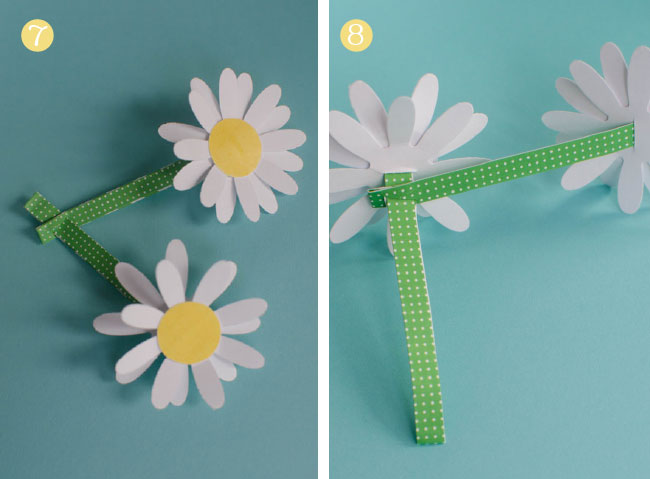
how to make your daisy chainStep 7: At this point you need to go ahead and make another flower. Insert the stem of the new flower into the slits you cut in the first stem.

Step 8: Pull the flower through the stem of the first all the way up to back of the petals.
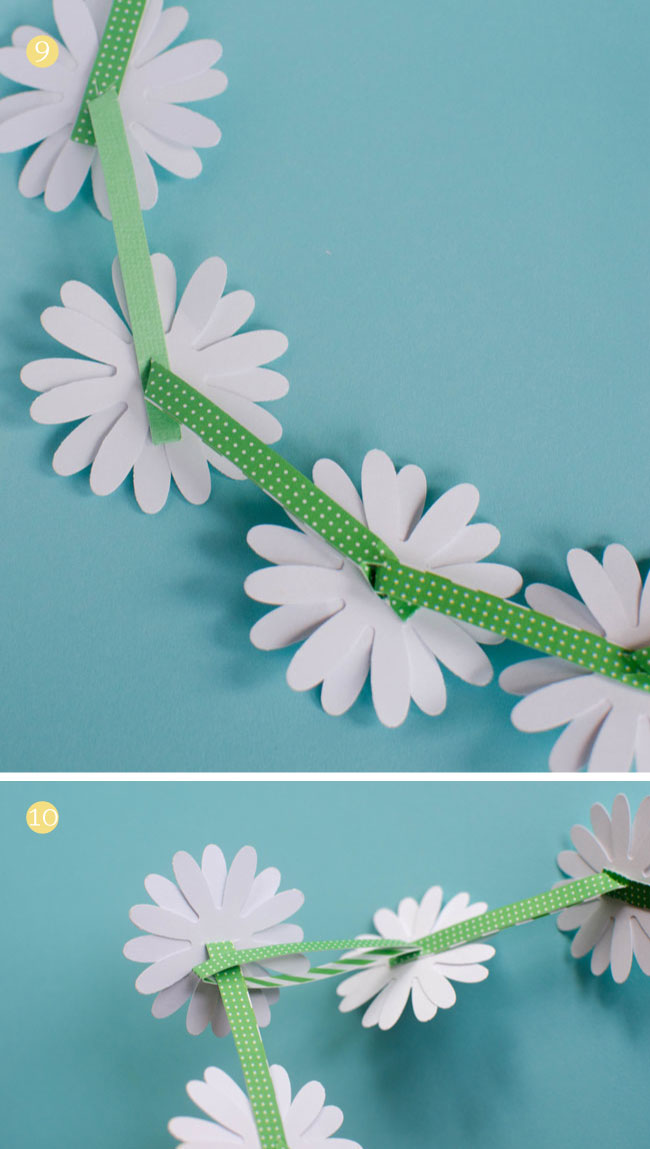
how to make a daisy chainStep 9: Continue adding daisies until you reach your desired length. My Step 9 image shows how the back of the chain should look.

Step 10: When your chain is long enough, you can close it by simply sliding the first daisy through the loop of the stem of the last (note: you won’t need to cut slits in the stem of the last daisy).
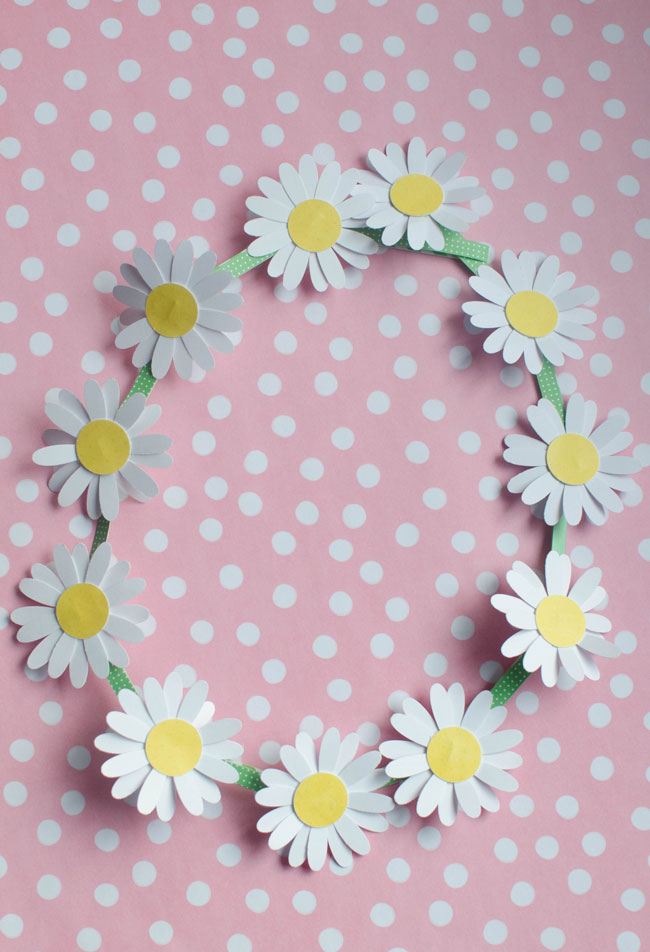
Daisy Chain Necklace
Now you have a completed daisy chain that you can wear as a necklace! You should make your chain long enough to slide on and off over your head so you don’t have to fuss with trying open and close the necklace while you’re wearing it (I know this from personal experience here, haha!)
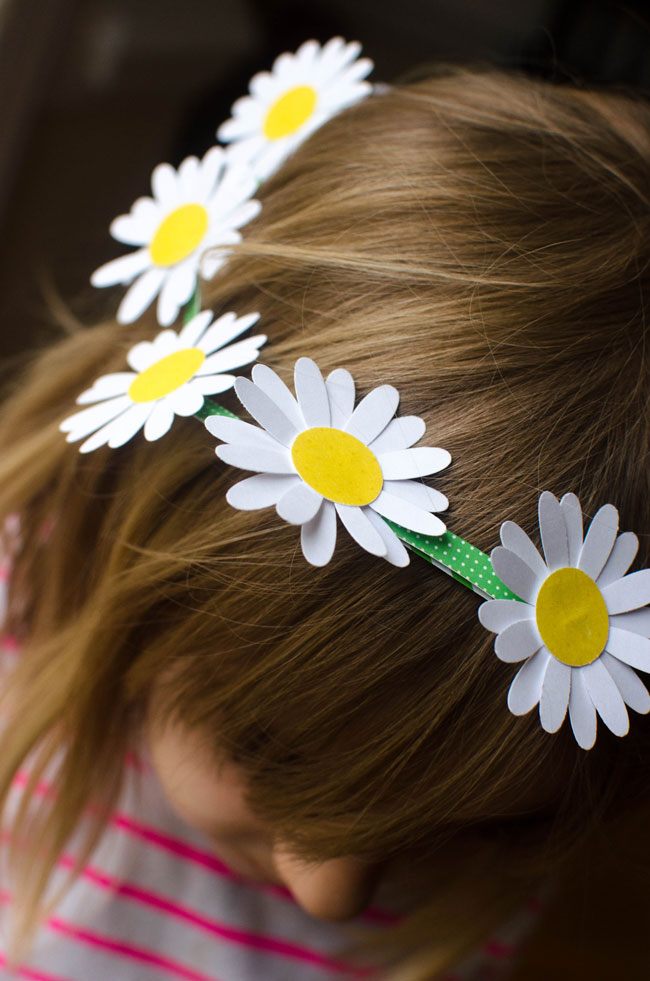
Daisy Chain Crown
Another really fun way to wear your daisy chain is as a crown. My girls instantly wanted to place it atop their heads and it looks so sweet this way. A smaller chain works best for this purpose.
Daisy Chain Template (and other resources)
Ok, so this paper craft looks way too fun and you want to get started right away, but you don’t have paper punches or the right colored paper. I hear you! I have put together some templates and printable papers for you to use if you want to break out the scissors and cut your way to a perfectly lovely paper daisy chain.
Daisy template
Green dotted stems
Green dotted printable paper
Daisy centers
Yellow dotted printable paper
Enjoy the freebies for your personal use and happy crafting!